FAQ – Nightscout Server Hosting NS10BE | xDrip, AAPS, Loop, Payment & more
Frequently Asked Questions
We have already put together some questions for you that come up more often:
No results found. Feel free to ask your question via our contact form.
General
We offer Nightscout purely as a data storage / diary / information management software, which currently does not require approval.
Payment & Subscriptions
Previously, the servers were largely sponsored, but this was discontinued at the beginning of the year :-(
As a result, the servers now have to be paid for after 5 years, which is not affordable privately, and the total donations don't even cover 10% of the costs.
As a result, the servers now have to be paid for after 5 years, which is not affordable privately, and the total donations don't even cover 10% of the costs.
After logging in, go to Payments in the navigation bar. You have two options:
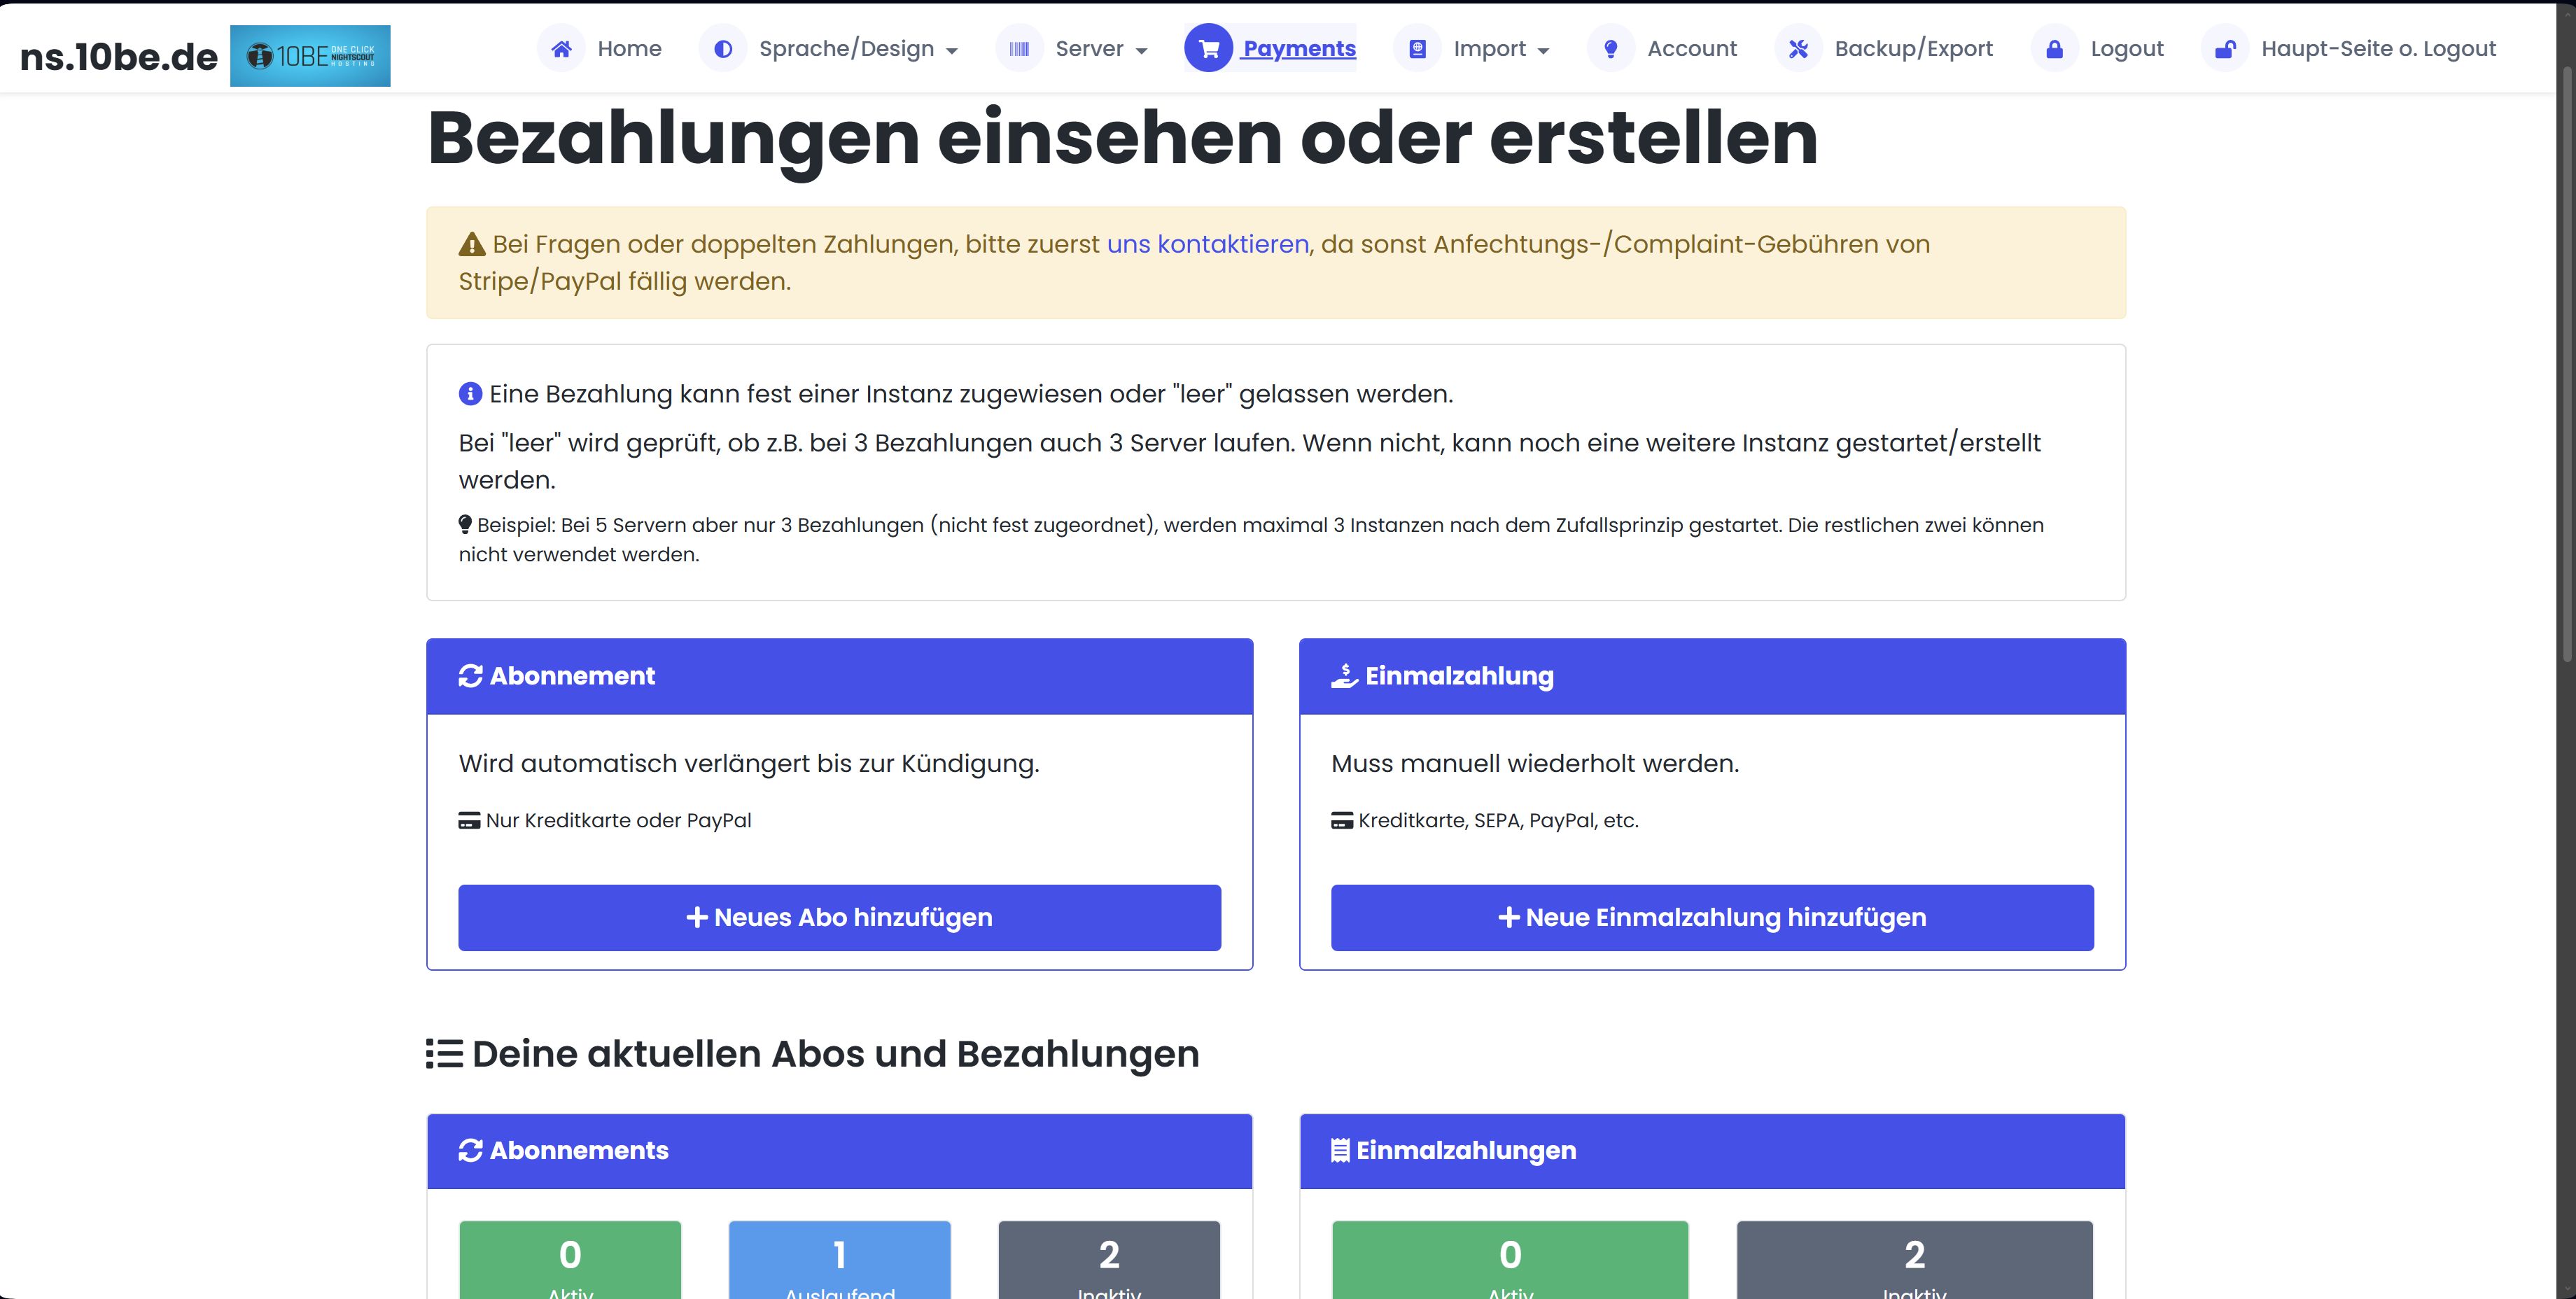
- Subscription — automatically renewed until cancelled. Payment via credit card or PayPal through Stripe. Recommended for permanent use.
- One-time payment — must be manually repeated when the term expires. Payment via credit card, SEPA, PayPal, Klarna etc.
When creating a new subscription or one-time payment, you choose your term:
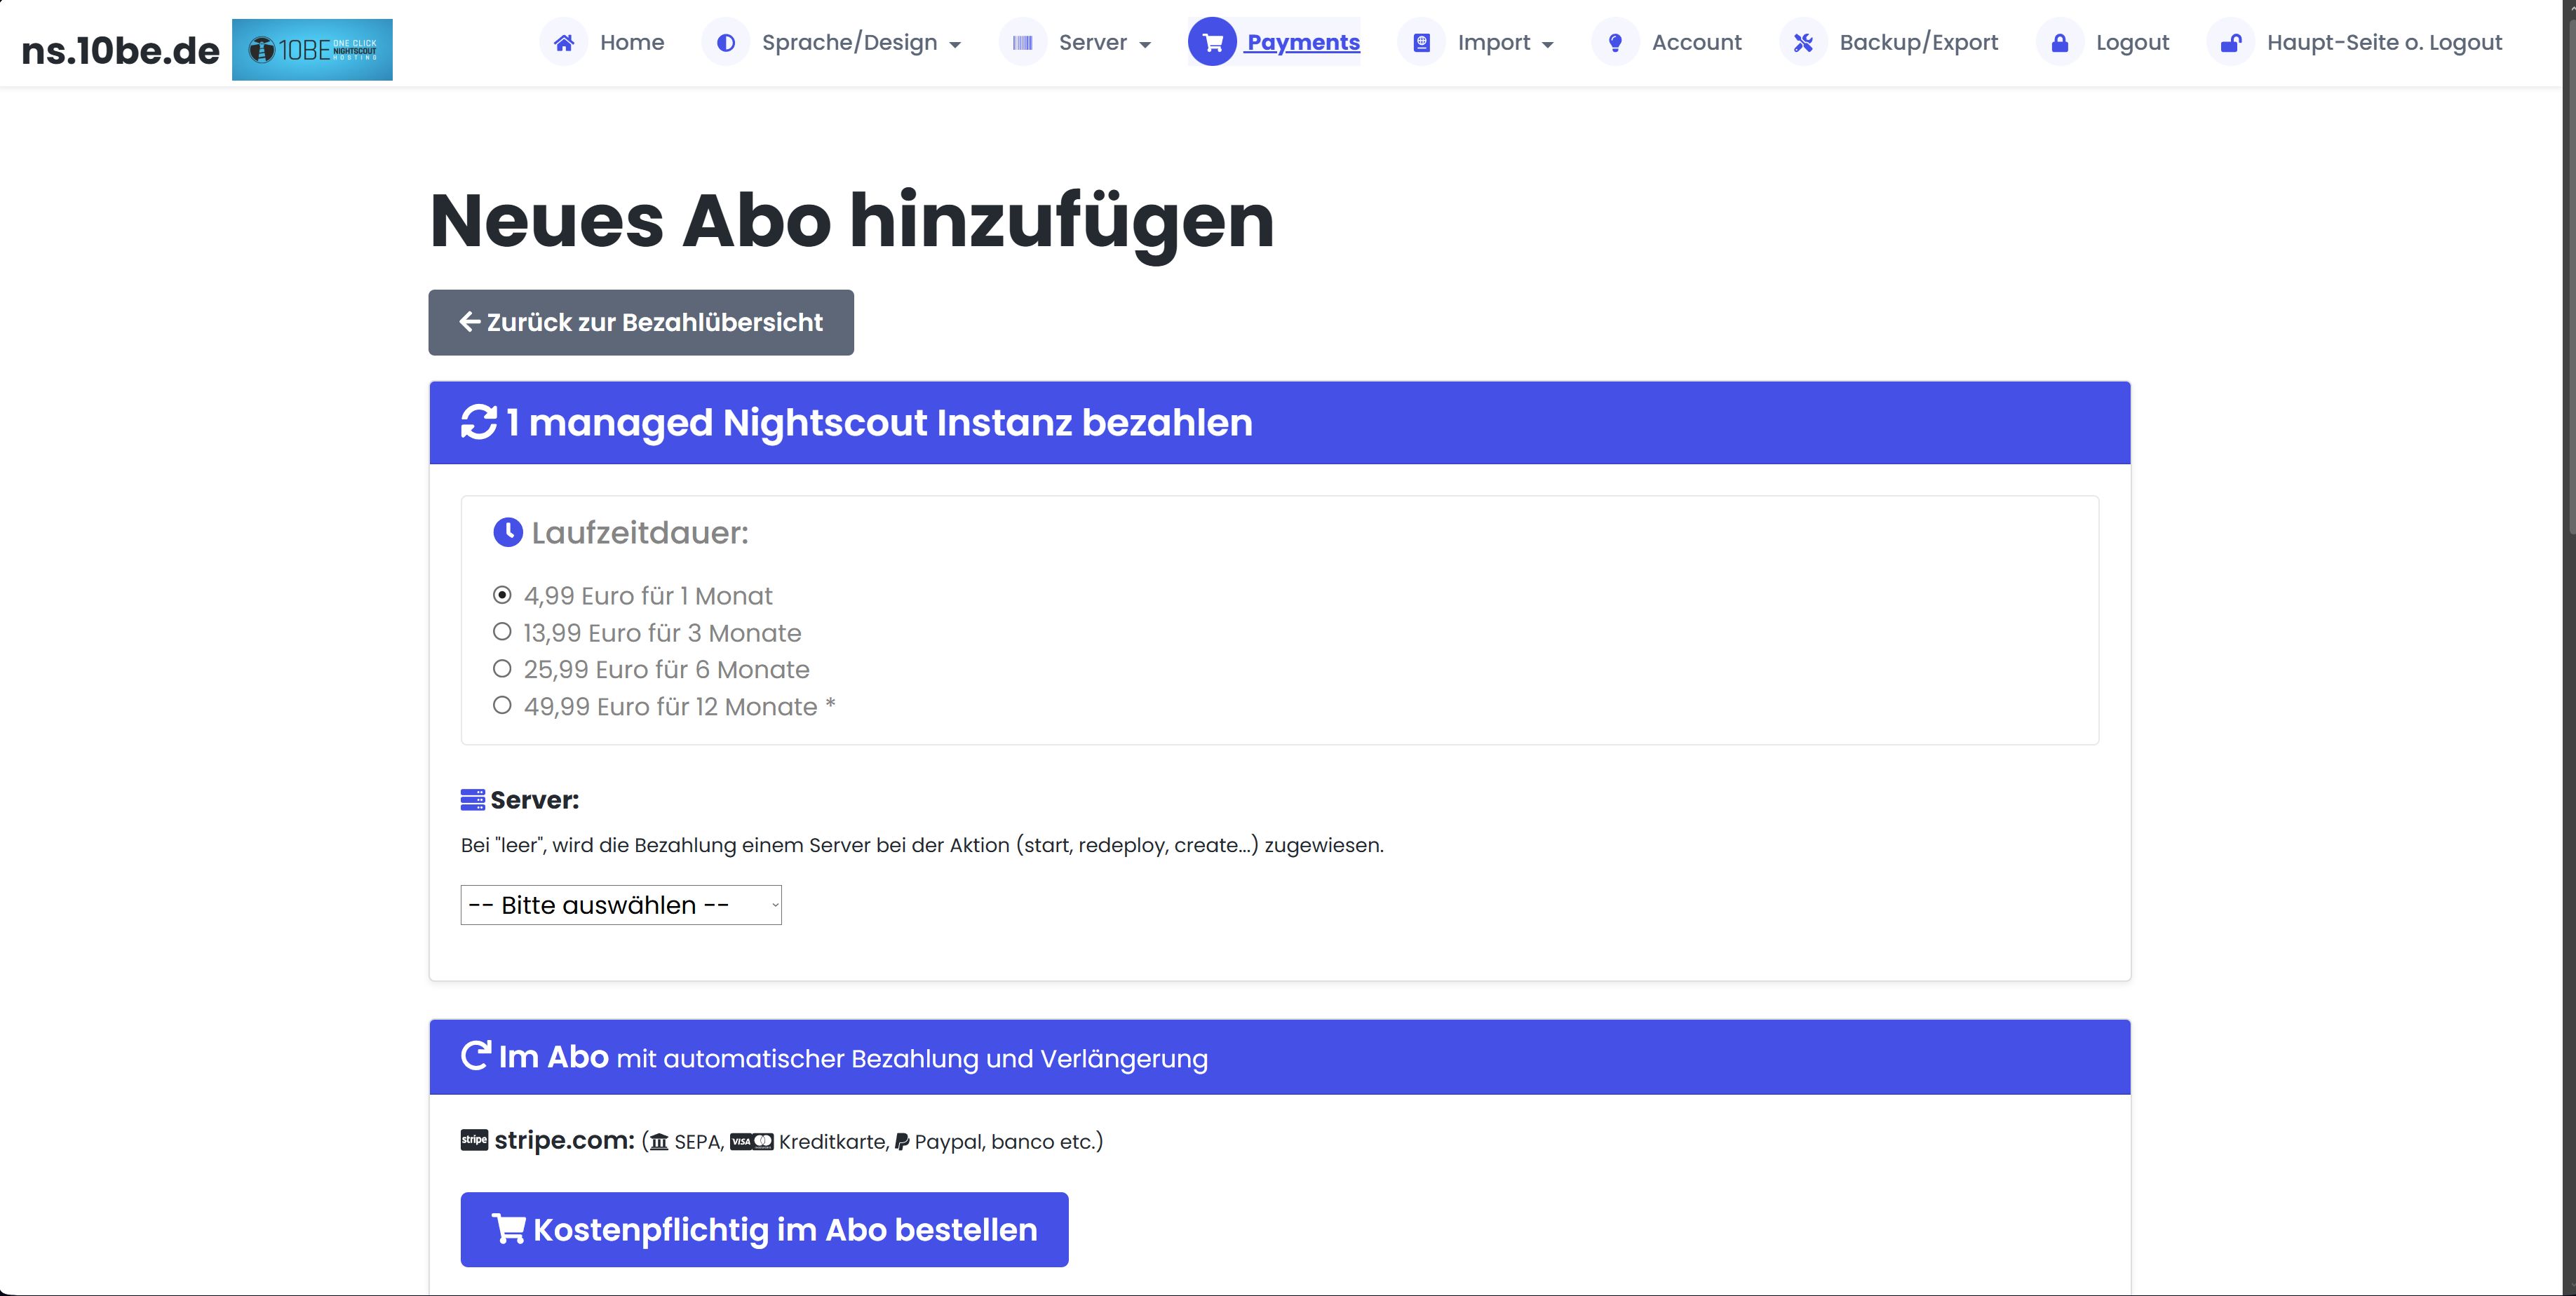
* DB export included with the 12-month term.
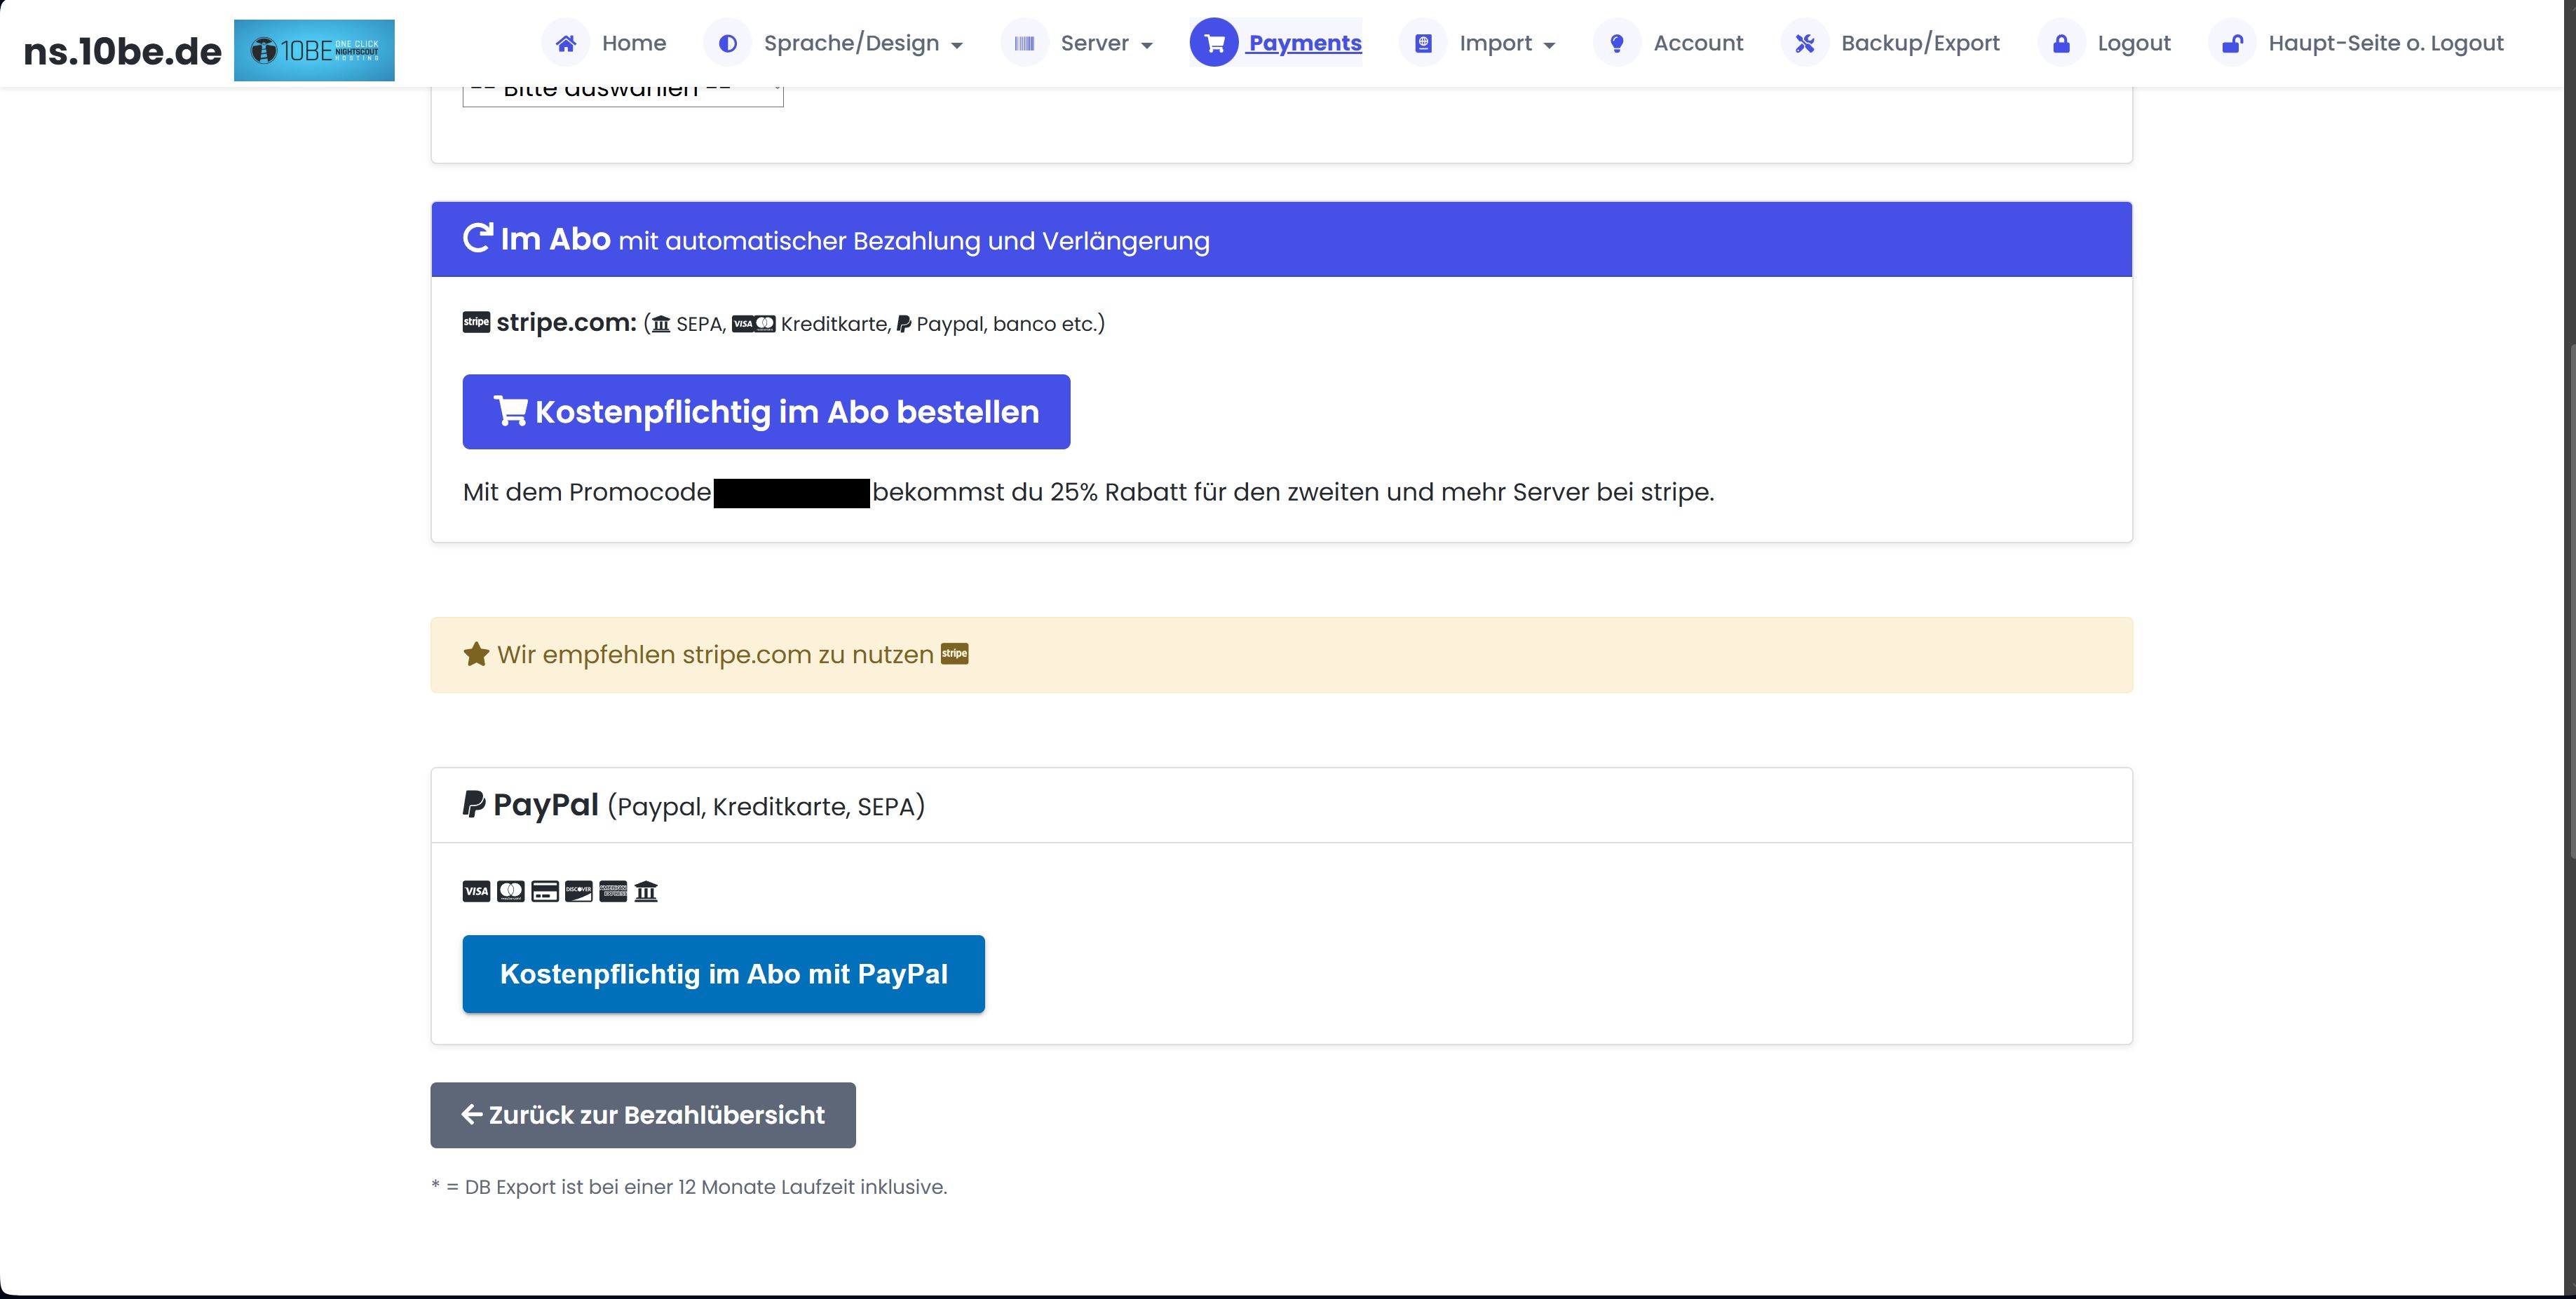
You can assign the payment to a specific server or leave the field empty — it will then be automatically assigned on the next server start.
Tip: For the second and additional servers, there is a promo code with 25% discount on Stripe — this is automatically displayed when creating a second server.
| Term | Price | Benefit |
|---|---|---|
| 1 Month | €4.99 | – |
| 3 Months | €13.99 | Save ~7% |
| 6 Months | €25.99 | Save ~15% |
| 12 Months * | €49.99 | Save ~20% + DB export included |
You can assign the payment to a specific server or leave the field empty — it will then be automatically assigned on the next server start.
Tip: For the second and additional servers, there is a promo code with 25% discount on Stripe — this is automatically displayed when creating a second server.
There is no limit. However, each instance requires an active payment, otherwise the instance(s) cannot be used.
For example, if you want to use two instances and don't want to pay in advance, you need to pay 2 x €4.99 = €9.98.
You have 15 instances but only 10 payments, so you can only use 10 servers simultaneously.
For example, if you want to use two instances and don't want to pay in advance, you need to pay 2 x €4.99 = €9.98.
You have 15 instances but only 10 payments, so you can only use 10 servers simultaneously.
Yes! From the 2nd server onwards, you automatically receive a 25% discount via coupon code. The code is shown when creating an additional server.
You also save with longer payment intervals: With 12 months prepayment you save about 17 % compared to monthly payment — plus DB export included.
You also save with longer payment intervals: With 12 months prepayment you save about 17 % compared to monthly payment — plus DB export included.
Go to Payments → View & manage subscriptions. There you can see all your subscriptions with their status (Active / Expiring / Inactive).

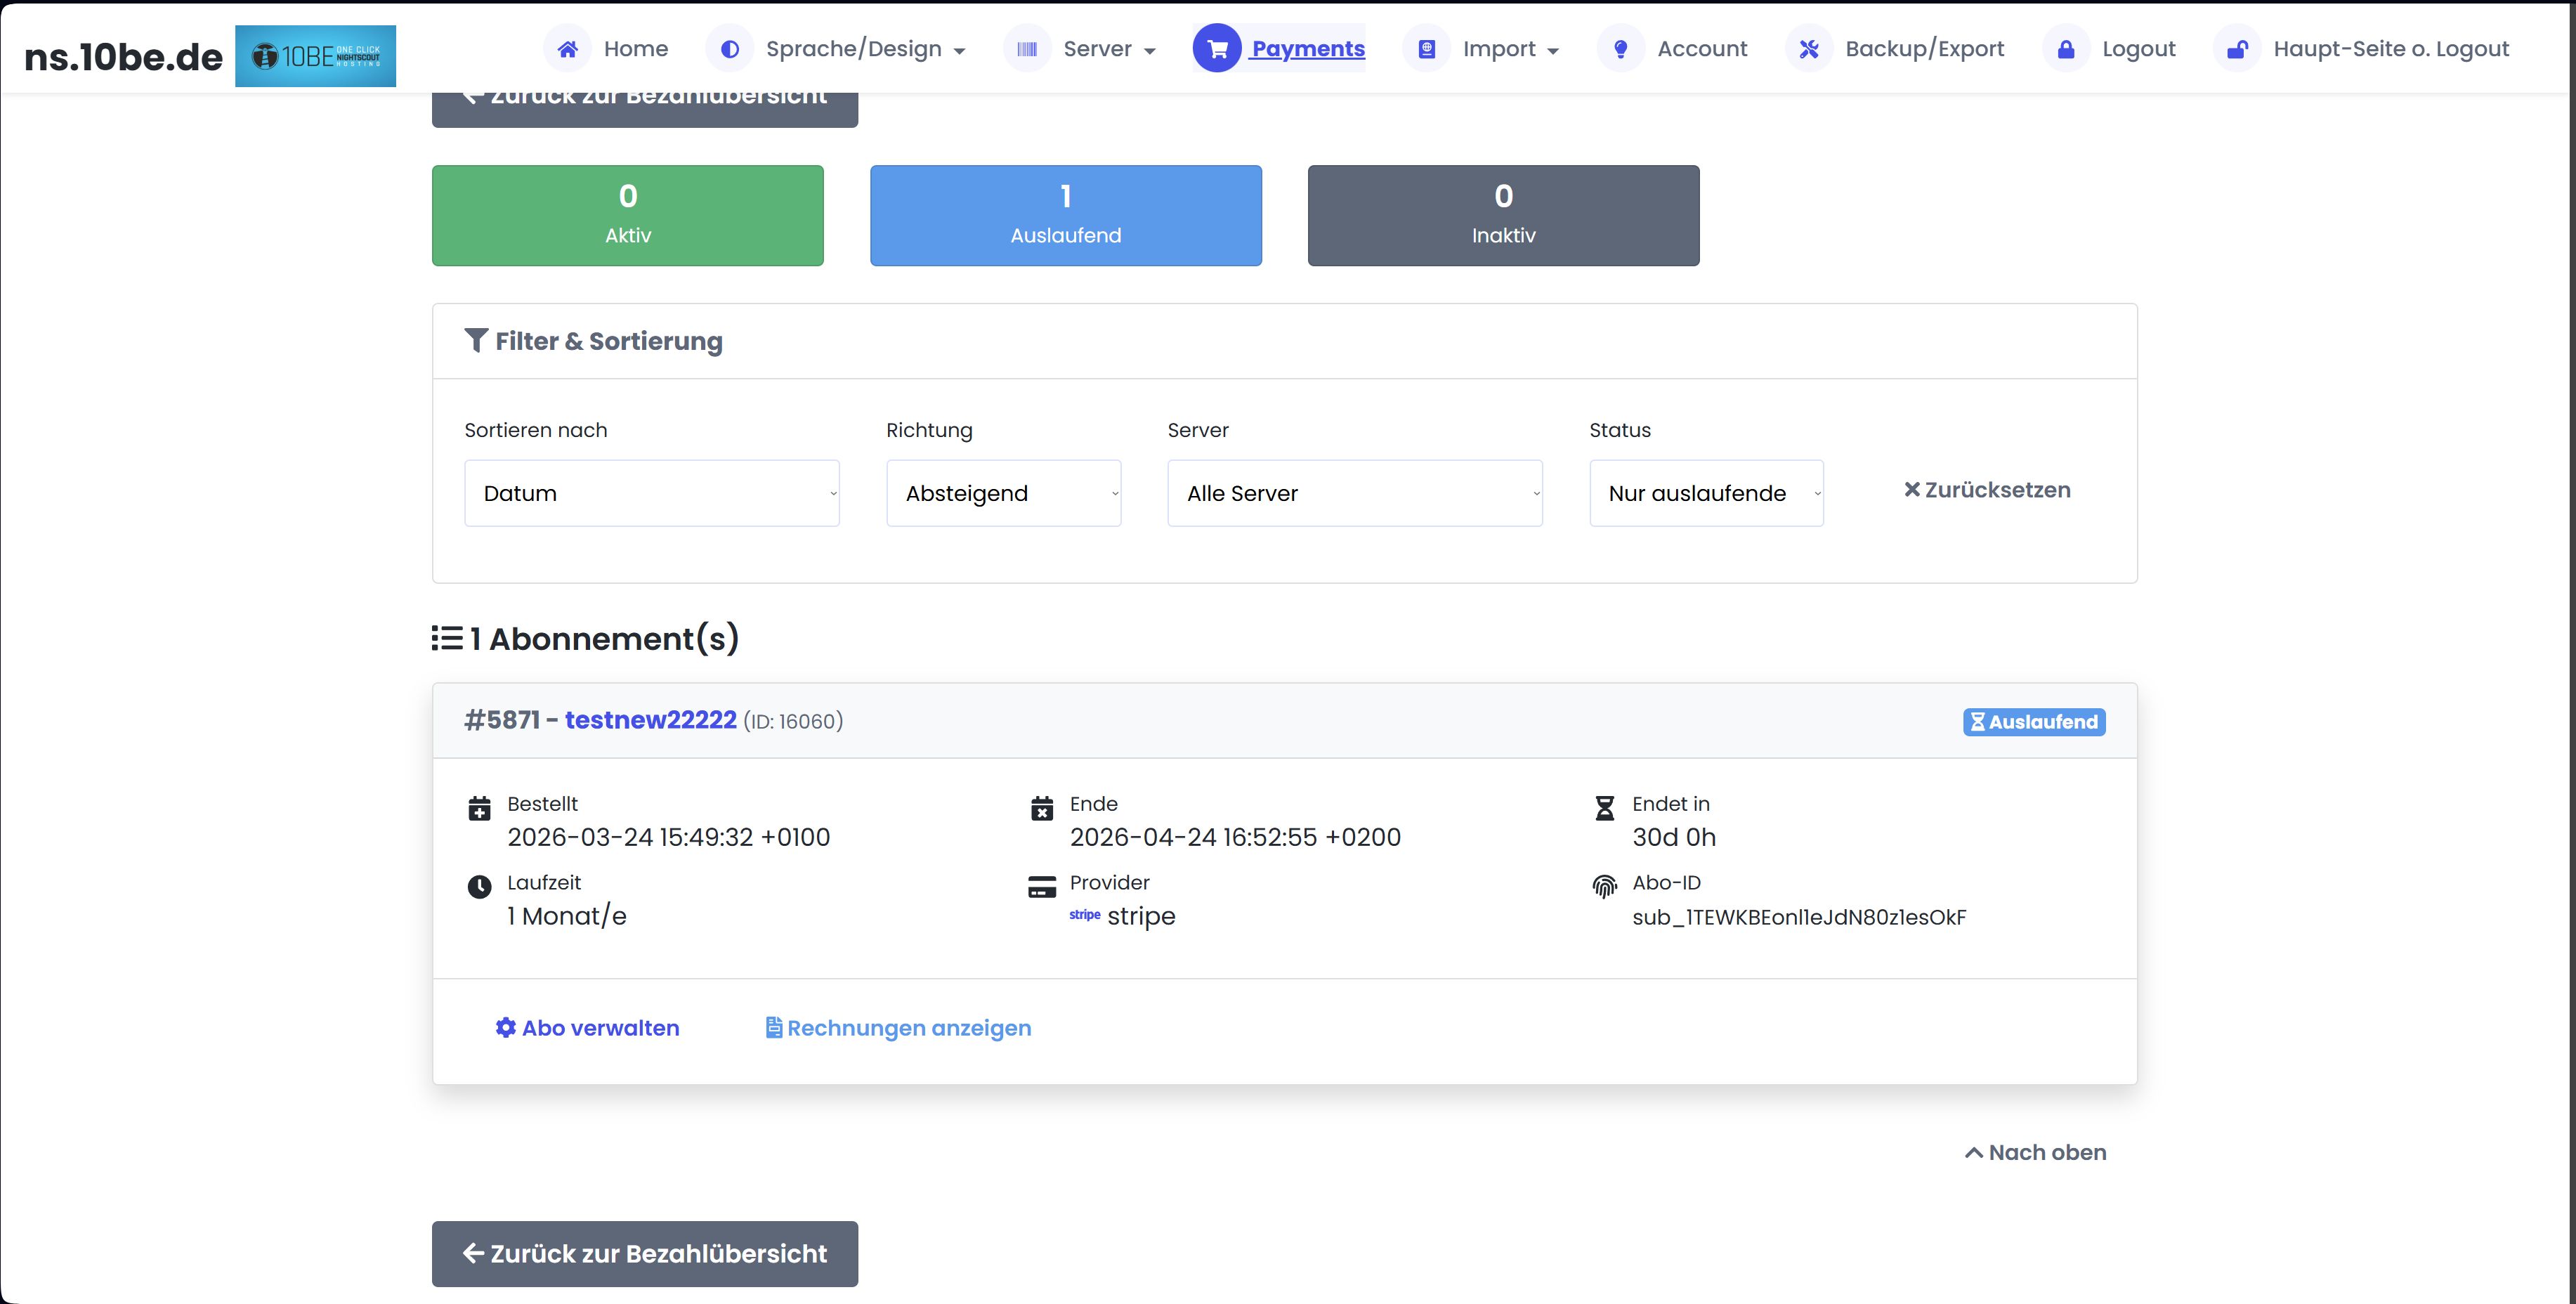
Click on “Manage subscription” for the desired subscription. There you can see all details and reactivate the subscription — as long as the end date has not been reached.
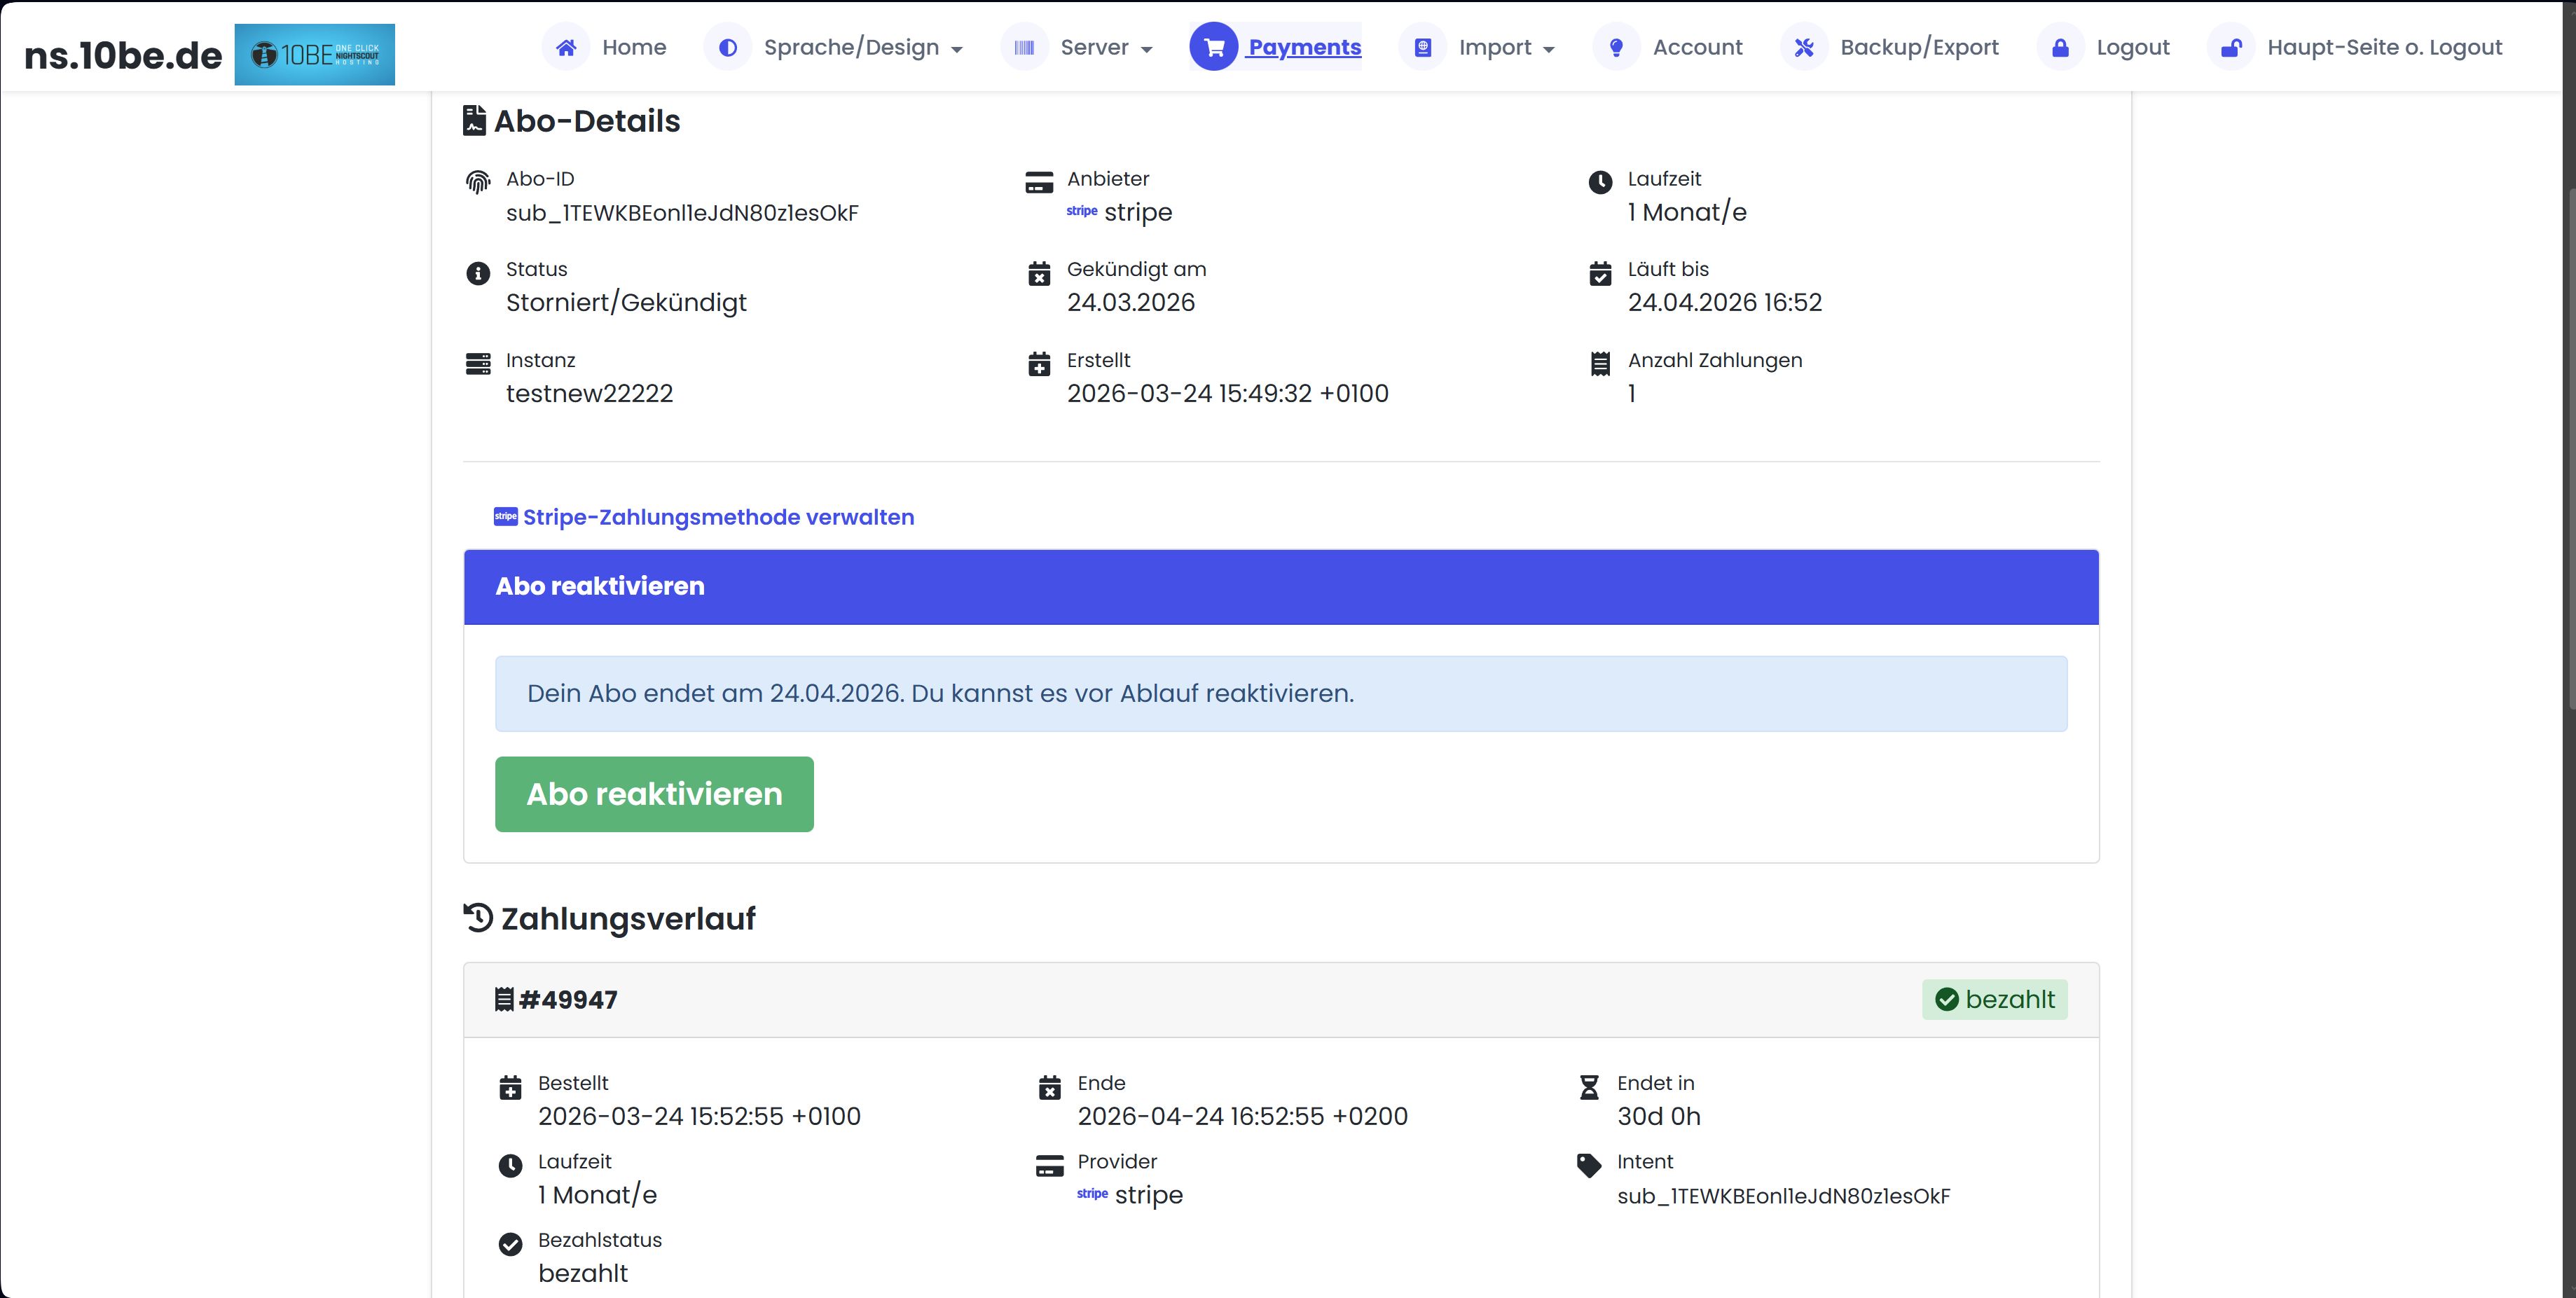

If the subscription has already expired, simply create a new subscription or one-time payment under Payments → Add new subscription.
Click on “Manage subscription” for the desired subscription. There you can see all details and reactivate the subscription — as long as the end date has not been reached.
If the subscription has already expired, simply create a new subscription or one-time payment under Payments → Add new subscription.
The instance can only be used if payment has been made.
If you're not using the instance, you can cancel the subscription at the end of the term and only pay again when you want to use Nightscout again.
If you're not using the instance, you can cancel the subscription at the end of the term and only pay again when you want to use Nightscout again.
Your server will be deactivated, but not deleted — all Nightscout data is preserved. As soon as a new active payment is in place, the server will be restarted automatically.
Note: A subscription with status “Cancelled” continues until the end date — the server stays active until that date is reached.
Note: A subscription with status “Cancelled” continues until the end date — the server stays active until that date is reached.
Go to Payments → View & manage subscriptions → Manage subscription → “Manage Stripe payment method”. There you can add a new credit card or payment method.
Please contact us first before filing a dispute with Stripe or PayPal — chargebacks and complaints incur additional fees. We resolve this quickly, easily and always fairly.
Server & Technical
Yes, they will be deleted within a few seconds.
However, a backup of the MongoDB and MySQL database exists for up to 3 days, so the data can be restored with significant effort.
After those days, when the backups have been overwritten, no data remains and everything is completely deleted from the server/account.
However, a backup of the MongoDB and MySQL database exists for up to 3 days, so the data can be restored with significant effort.
After those days, when the backups have been overwritten, no data remains and everything is completely deleted from the server/account.
The Nightscout profile is configured directly inside your Nightscout instance — not in the ns.10be.de dashboard.
Steps:
- Open your Nightscout URL (e.g.
your-name.ns.10be.de) - Click the menu (≡) top right and select Profile Editor
- Enter your values:
- Timezone
- Insulin duration (DIA)
- Insulin sensitivity factor (ISF)
- Carb ratio (CR)
- Basal rates (units per hour, by time of day)
- Target range (low and high values)
- Click Save and then Activate — without activation the profile is inactive!
Important: All values are medically relevant. Use only values provided by your diabetologist or your Loop/AAPS setup. Do not enter default values.
Loop and AAPS users: The profile is usually synced automatically from the app — manual entry is usually not necessary.
Loop and AAPS users: The profile is usually synced automatically from the app — manual entry is usually not necessary.
Master is the stable recommended version (official
nightscout/cgm-remote-monitor) for most users. dev-psonnera is an AAPS-specific fork with additional patches (Loop status, override visualisation, SMB display) — source code at github.com/psonnera/cgm-remote-monitor (branch dev-AAPS). Recommended for advanced AndroidAPS users. You can switch the branch any time in the server editor. After saving, the server restarts automatically with the new branch.
Your Nightscout URL is the web address of your personal Nightscout server. You'll find it in the server overview at /en/server.html in the "Server URL" column. The format is
Important: If you change the server name, the URL changes too — you'll need to update it in xDrip+, AAPS or Loop, otherwise data won't arrive anymore.
https://[name].10be.de — you can also use [name].ns.10be.de, both point to the same instance. Example: if your server is called mariadiabetes, your URL is https://mariadiabetes.10be.de.Important: If you change the server name, the URL changes too — you'll need to update it in xDrip+, AAPS or Loop, otherwise data won't arrive anymore.
Please contact us. Theoretically this is no problem, unless the change needs to go into my.env. This file is recreated after editing the server in the profile.
Simply click "Redeploy" in the server overview. Your server will restart with the latest Nightscout version.
The server overview also shows you directly whether your version is up to date or if an update is available.
For major updates (e.g. major versions), we update all servers automatically.
The server overview also shows you directly whether your version is up to date or if an update is available.
For major updates (e.g. major versions), we update all servers automatically.
Yes, unless you have enabled the "withoutport" option, then you can access the instance without the port using just https://xxxx-your-name-xxxx.ns.10be.de/
Yes! In the server editor, there is the "Custom Configuration" section. There you can add any Nightscout environment variables as key-value pairs.
Examples:
You can also use a custom Docker image, e.g. if you want to test your own Nightscout fork.
Examples:
CUSTOM_TITLE, THEME, SHOW_FORECAST etc.You can also use a custom Docker image, e.g. if you want to test your own Nightscout fork.
Please enable the "withoutport" option, then the instance is also accessible directly via https:// without the port.
You can also contact us and we can manually assign a port to you.
You can also contact us and we can manually assign a port to you.
Check the time zone in your Nightscout profile and correct it. Then regenerate the reports. The issue typically appears after a profile switch when the old profile still carried a different time zone. Make sure all profiles (Default, Exercise, Sick etc.) use the same time zone.
If the instance shows "running", please wait another 10 minutes, then it should work again.
If it still doesn't work after 15 minutes, please edit the instance and save it again or click "redeploy", then it should work again.
If it still doesn't work, please contact us.
If it still doesn't work after 15 minutes, please edit the instance and save it again or click "redeploy", then it should work again.
If it still doesn't work, please contact us.
This is a local DNS problem. Simply restarting the phone usually helps. If the message still appears, restart your DSL router as well.
Connecting CGM Apps
In xDrip+ → Settings → Cloud Upload → API REST Upload → fill the field xDrip Base URL with:
https://[password]@[name].ns.10be.de/api/v1/. The ready-to-paste URL is available in your NS10BE server overview with password and name already substituted.
In AAPS → Hamburger menu → Settings → NSClient (alternatively from the NSClient tab: hamburger menu → NSClient settings) → enter Nightscout URL and API token separately. URL:
https://[name].ns.10be.de (no password in the URL). The API token is in your NS10BE server overview as a copyable field.
Loop iOS uses the Services pattern (Loop 3+):
- In the Loop app tap Settings bottom right.
- In the Settings screen open the Services section and tap '+ Add Service'.
- Pick Nightscout from the list.
- Fill two fields in the dialog:
- Site URL:
https://[name].ns.10be.de(full URL including https://) - API Secret: your NS10BE API password from the server overview (not the login password!)
- Site URL:
- Tap 'Test Connection' — on success a green check appears. Then 'Add Service'.
- Enable BG upload: in the Loop settings under CGM (or directly on the Nightscout service entry) turn on the BG upload button / toggle.
Important: the BG-upload toggle occasionally turns itself off. If no BG values arrive in Nightscout anymore — first check whether the toggle is still active.
In Trio → Settings → Services → Nightscout → enter URL and API token. URL:
https://[name].ns.10be.de. API token from your NS10BE server overview. Then enable the 'Allow Uploading to Nightscout' toggle to start the upload.
In Juggluco: tap the left half of the screen (opens the main menu) → Settings → Exchange data → Uploader. There: enable 'v1', disable 'Test v3' and disable 'Send amount'. URL:
https://[name].ns.10be.de (no trailing slash). API password from your NS10BE server overview.
For Dexcom (Share), Diasend, Glooko, Medtronic (CareLink), Medtrum and Eversense you do not enter any URL in an app. When creating or editing a server in your NS10BE server overview, the configuration dialog shows options like 'Dexcom Share', 'Diasend/Glooko', 'CareLink', 'Medtrum' or 'Eversense'. Click the matching entry, enter your vendor portal login credentials, save — done. NS10BE then polls the CGM values automatically from the vendor server at regular intervals and serves them on your Nightscout server. No extra app and no bridge on a separate Android device required.
LibreLinkUP is not configured in an app. When creating or editing a server in your NS10BE server overview, the configuration dialog shows the 'LibreLinkUP' option. Click it, enter your LibreLinkUP login credentials (email + password), save — done. NS10BE then polls the CGM values automatically from the LibreLinkUP server and serves them on your Nightscout server. No extra app required, no bridge on an Android device.
Install the xDrip+/Spike/Nightscout Watch app from the Garmin Connect IQ Store — go directly to the store. In the app settings enter the Nightscout URL:
https://[name].ns.10be.de. If your server is authenticated, also enter the API token from your NS10BE server overview. A quick glance at your wrist then shows current value, trend and history.
Data & Import
On Linux, for example with the following command:
Alternatively, you can use DB Export to import the database directly into another database for a fee.
mongorestore -h dsXXXXXX.mlab.com:XXXXXX -d databasename -u username -p dbpassword /your/path/dbbackup/nightscoutXXXX/Alternatively, you can use DB Export to import the database directly into another database for a fee.
ns.10be.de supports multiple import methods directly in the dashboard:
Go to Import in the dashboard and choose the appropriate method.
- API Import — Nightscout to Nightscout, simply enter the source URL and API secret
- MongoDB Import — Upload a complete DB dump (e.g. from Atlas/mLab)
- CSV Import — For Omnipod, Freestyle Libre and Dexcom data
Go to Import in the dashboard and choose the appropriate method.
This can happen if either the login credentials are wrong or a pump newer than the 640G is being used.
With Dexcom US, problems can occur that appear in the Server.log as "Error refreshing token null 500 Code: 'SSO_AuthenticateMaxAttemptsExceeed', Message: `Synchronization of SSO account during login failed. AccountId=......."
See this post on FB
With Dexcom US, problems can occur that appear in the Server.log as "Error refreshing token null 500 Code: 'SSO_AuthenticateMaxAttemptsExceeed', Message: `Synchronization of SSO account during login failed. AccountId=......."
See this post on FB
Two options: 1) MongoDB connection string from MongoDB Atlas (or another MongoDB provider) — paste it in the NS10BE dashboard under Import → MongoDB import. The connection string is in the Atlas dashboard under Cluster → Connect → Drivers. 2) BSON files from a
mongodump backup — select all .bson files at once for upload. NS10BE auto-detects the format and imports into the selected target instance.
Meals & Carbohydrates
CarbCam uses AI image recognition to identify the components of a meal, assign portion sizes and sum up the carbs based on USDA FoodData Central reference values. The estimate runs through three selectable AI engines (Gemini 2.5 Flash, Claude, OpenAI). Accuracy for normal plated meals is around ±15–25 %, slightly lower for mixed dishes or unknown brands. Use the AI calibration slider (50–100 %) to fine-tune the estimator to your own metabolism.
FPE stands for Fat-Protein Unit. One FPE equals 100 kcal from fat and protein combined — formula: FPE = (fat × 9 + protein × 4) ÷ 100. Meals high in fat and protein (e.g. pizza, burgers, rich sauces) often trigger a delayed blood-glucose rise over several hours that pure carbohydrate values miss. Pump users often use FPE values to configure an extended bolus (dual-/square-wave). CarbCam calculates FPE automatically and shows it as an amber chip alongside carbs (green) and kcal (blue).
AID Systems (AAPS, iAPS, Loop, Trio)
On Android, CarbCam sends a standard broadcast intent to AAPS — no patch required. In the scan result tap the share button, pick AAPS from the list, and the bolus wizard opens with the values pre-filled. The same broadcast is recognised by xDrip+ and Trio. Important: in the AAPS NSClient settings (hamburger menu → Settings → NSClient) the acceptance of local broadcasts must be enabled. The exact label may differ between AAPS versions.
On iOS, CarbCam sends a URL-scheme call (e.g.
carbcam-iaps://carbs?value=…&fat=…&protein=…) to the target app. For the bolus wizard to process the values, a small CarbCam patch needs to be installed in your fork (iAPS, LoopWorkspace or Trio) — patches for all three forks are in the CarbCam repository and are built yourself via Xcode + TestFlight. With the patch, carbs, fat and protein are transmitted, not only carbs as in pure photo solutions. Without the patch, the system share sheet opens as a fallback.
Living with Diabetes
No — what CarbCam stores in Nightscout is a plain note (
eventType=Note) with the brand prefix de.be10.carbcam. Loop, AAPS, iAPS and Trio ignore these notes for their bolus and basal calculation — the note is only a verifiable meal diary. Only when you actively use the share button in the scan result is a real carb treatment passed to your AID system (see the AID Systems category).
Carbohydrates (carbs) are the sugar source in food — bread, rice, pasta, fruit, sweets, but also many sauces and snacks contain them. The body breaks them down to glucose, which raises the blood sugar. With type-1 diabetes, the carb amount of every meal is estimated and the insulin bolus is calculated using the personal insulin-to-carb ratio (g carbs per unit of insulin). A more accurate carb estimate leads directly to a more accurate bolus dose and a more stable BG curve after eating — which is why carb values are the most important lever in everyday diabetes management.
Do you have any further questions?
Then don't be afraid to contact us!
Contact us